

1.2.1 Installation on PrestaShop 1.5
First, connect to your PrestaShop Back Office.
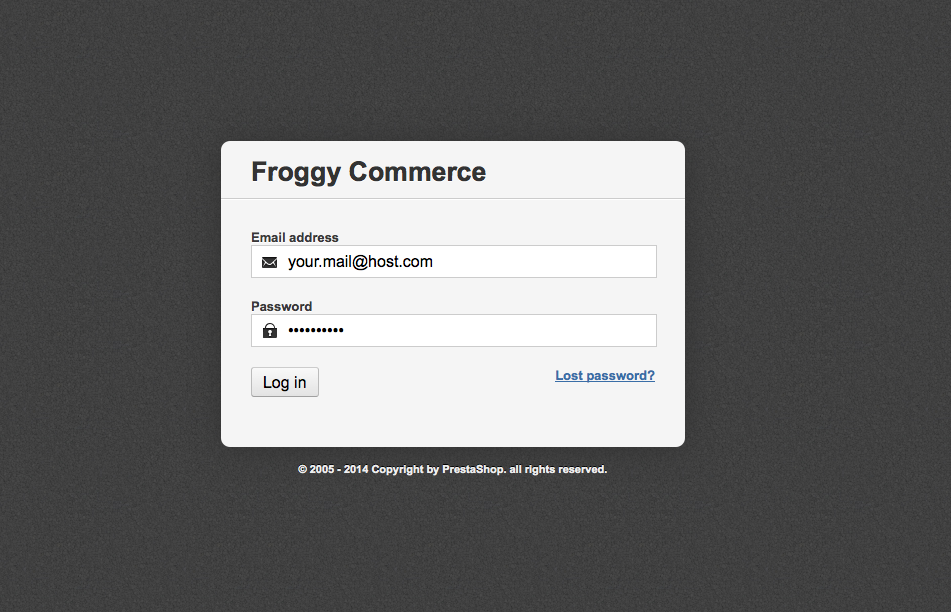
Once connected, go to the “Modules” section.

We provided you a file named “oyst.zip”. You will have to upload it in your module section. To do so, click on the “Add a new module” button.

A new tab should have appeared, click on the “browse” button.
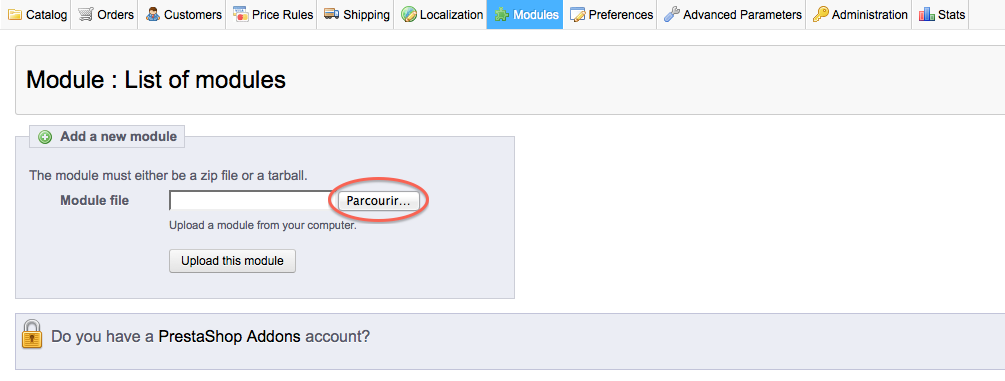
Then select the file “oyst.zip” and click on “open”.

And finally, click on the button “Upload this module”.
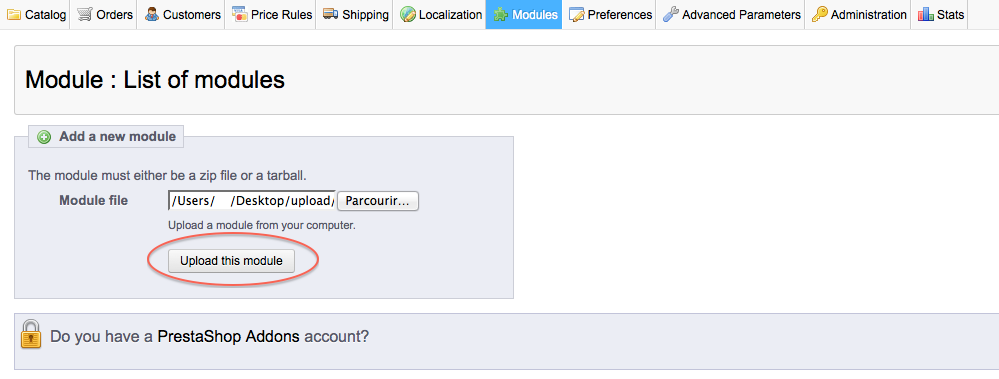
Your browser should scroll automatically to the new module added, and you should see it at the top of your screen. Now, you can click on the “Install” button.

Once you will have clicked on the “Install” button, a confirmation message “Module Installed successfully” should appear. You can now click on the “configure” button (on some versions of PrestaShop you will be directly redirected to the module configuration just after installation).

1.2.2 Update on PrestaShop 1.5
To update your module, you just have to upload the zip file of the new version of the module.
So, first of all, download the last version of the module on our website froggy-commerce.com
Then, as for installation, connect to your PrestaShop Back Office.

Once connected, go to the “Modules” section.

You should have downloaded the updated file named “oyst.zip”. You will have to upload it in your module section. To do so, click on the “Add a new module” button.

A new tab should have appeared, click on the “browse” button.

Then select the file “oyst.zip” and click on “open”.

And finally, click on the button “Upload this module”.

Your browser should scroll automatically to the new module added, and you should see it at the top of your screen. You DO NOT uninstall / reinstall your module.

Your module has been updated!
1.3.1 Installation on PrestaShop 1.6
First, connect to your PrestaShop Back Office.

Once connected, go to the “Modules” section.

We provided you a file named “oyst.zip”. You will have to upload it in your module section. To do so, click on the “Add a new module” button.

A new tab should have appeared, click on the “browse” button.

Then select the file “oyst.zip” and click on “open”.
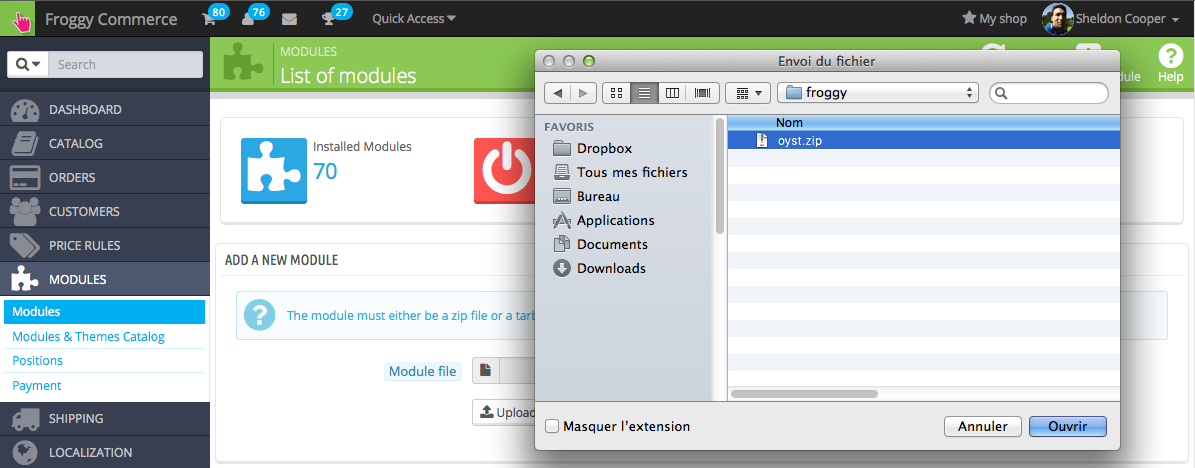
And finally, click on the button “Upload this module”.

A confirmation message will appear.

At last, write "Froggy" in the search field, all Froggy modules will appear. Then click on the "install" button of the module you just uploaded. You will be automatically redirected to the module configuration page.

1.3.2 Update on PrestaShop 1.6
To update your module, you just have to upload the zip file of the new version of the module.
So, first of all, download the last version of the module on our website froggy-commerce.com
Then, as for installation, connect to your PrestaShop Back Office.

Once connected, go to the “Modules” section.
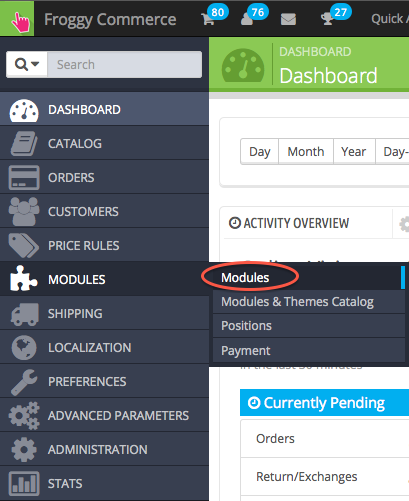
You should have downloaded the updated file named “oyst.zip”. You will have to upload it in your module section. To do so, click on the “Add a new module” button.

A new tab should have appeared, click on the “browse” button.

Then select the file “oyst.zip” and click on “open”.

And finally, click on the button “Upload this module”.

A confirmation message will appear.

Your module has been updated!
You should now see the Oyst module in your module list.

Once you clicked on the “configure” button, you should see this screen:

Just fill the API key Oyst gave you, you should have a validation message right away:

A new payment method should have appear on your front office (there will be no mention of "Oyst")

If you click on it, you should be redirected on this payment interface
