Froggy Toolbar is a module which make easier the management of your PrestaShop website.
This module creates a link between your administration panel and your front office by making appear a toolbar on your shop.
This fully secure toolbar that only appears if you are connected to your admin panel, contains notifications and action shortcuts that will make you save time.
1.1.1 Installation on PrestaShop 1.4
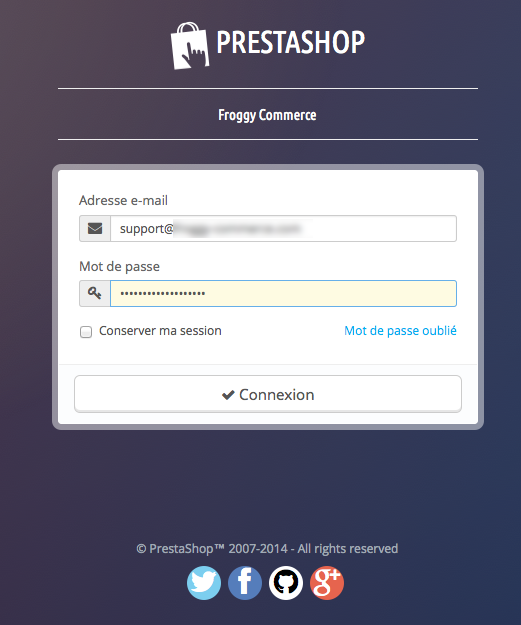
First, connect to your PrestaShop Back Office.
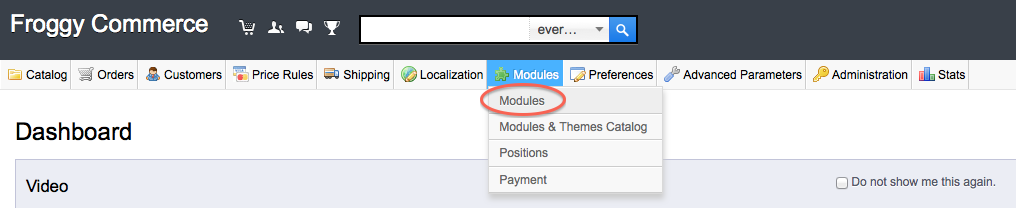
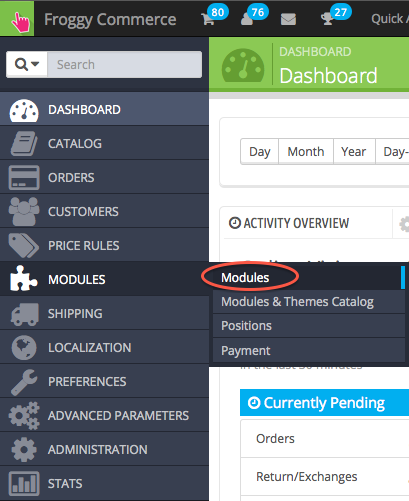
Once connected, go to the “Modules” section.
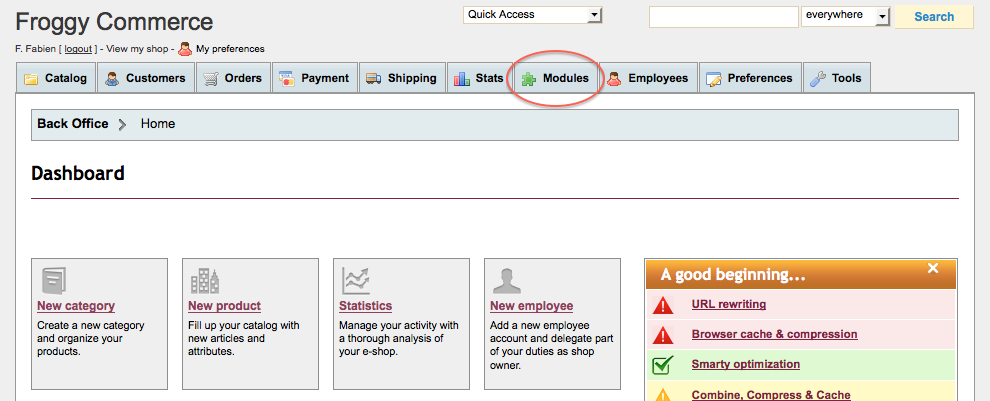
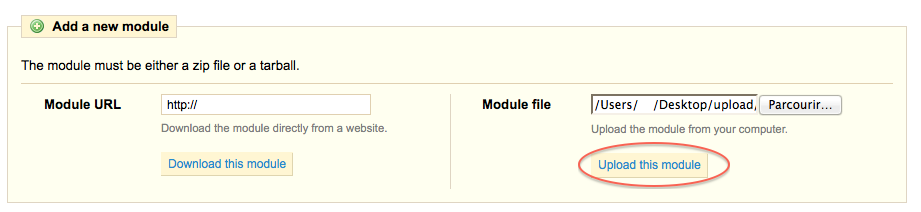
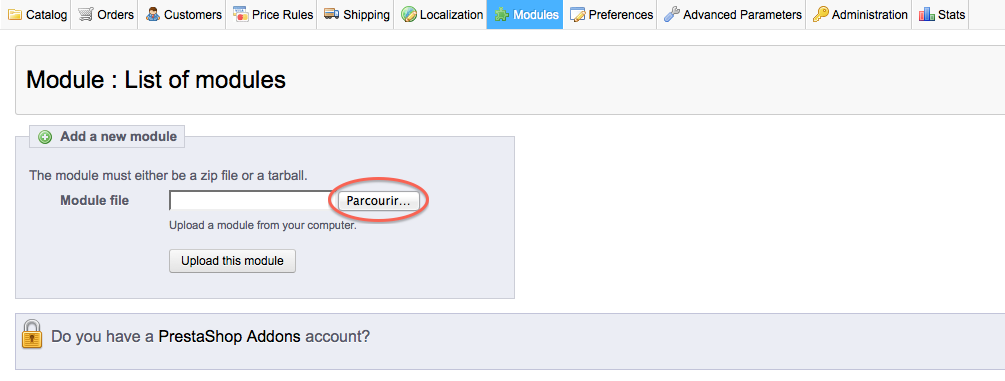
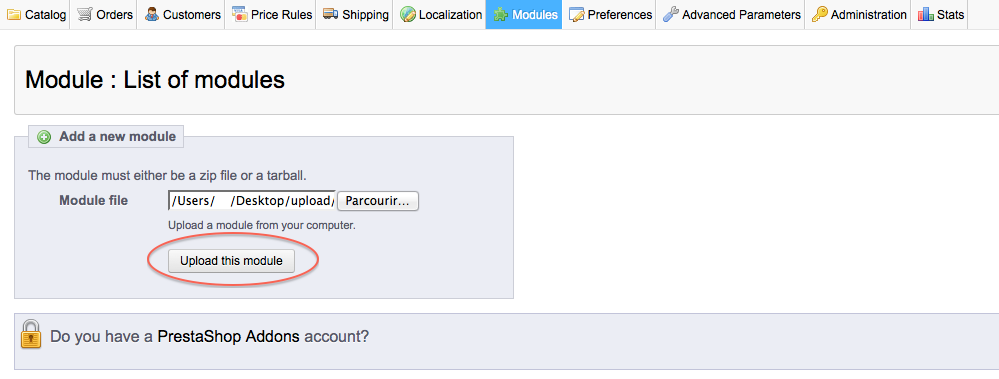
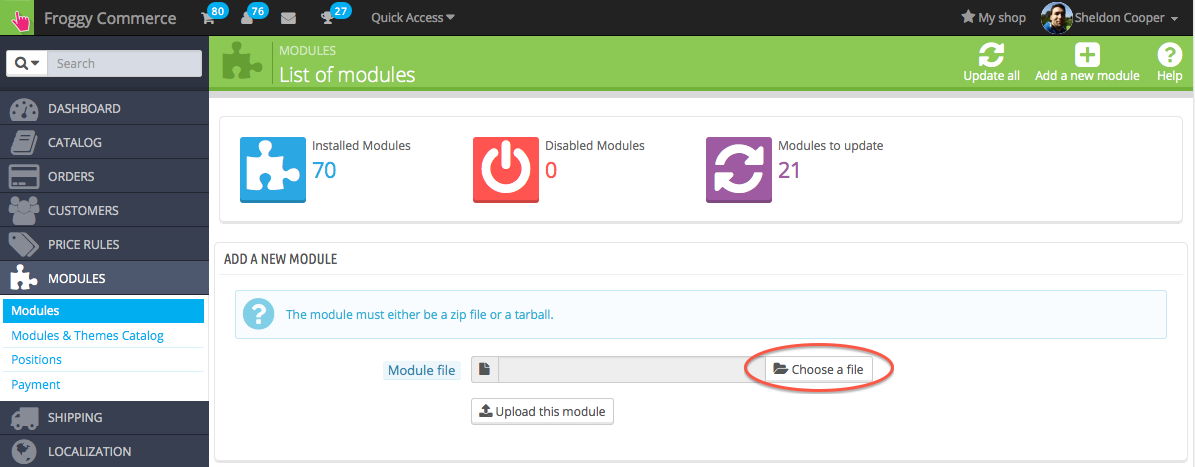
We provided you a file named “froggytoolbar.zip”. You will have to upload it in your module section. To do so, click on the “Add a new module” button.
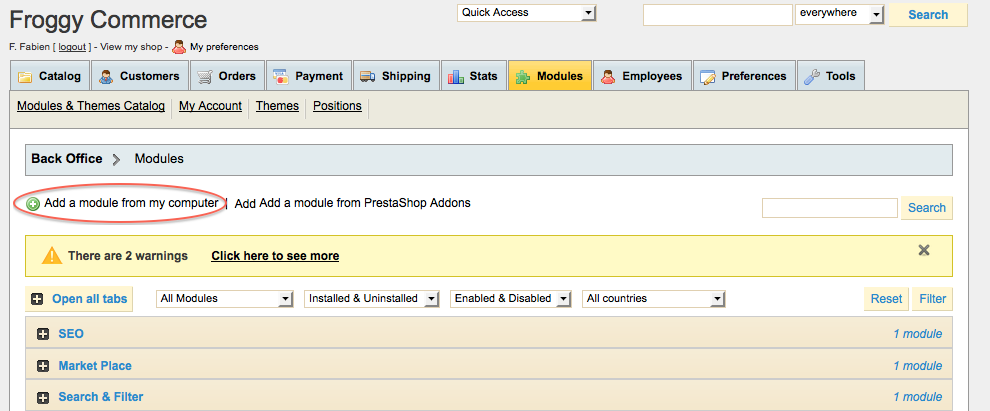
A new tab should have appeared, click on the “browse” button.
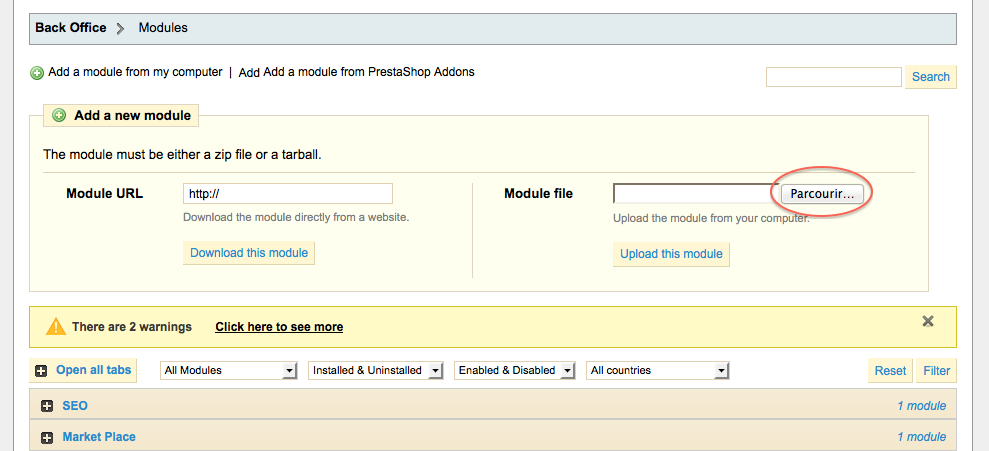
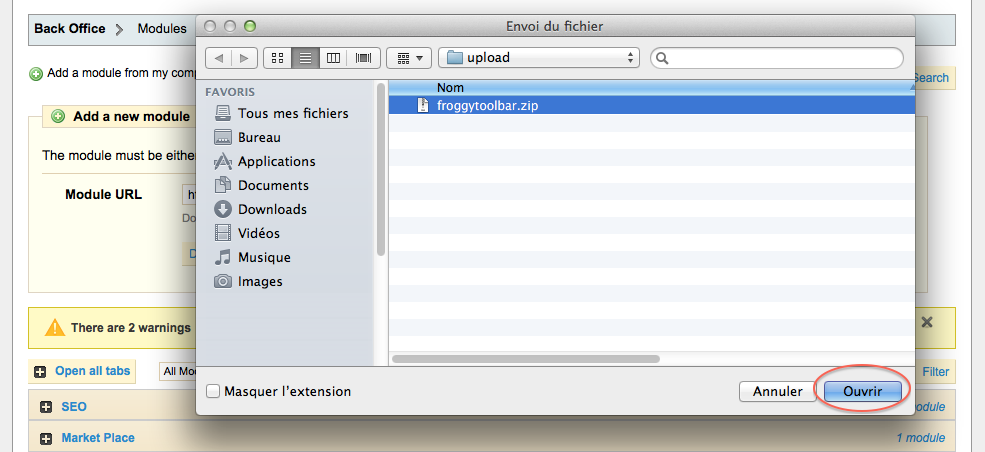
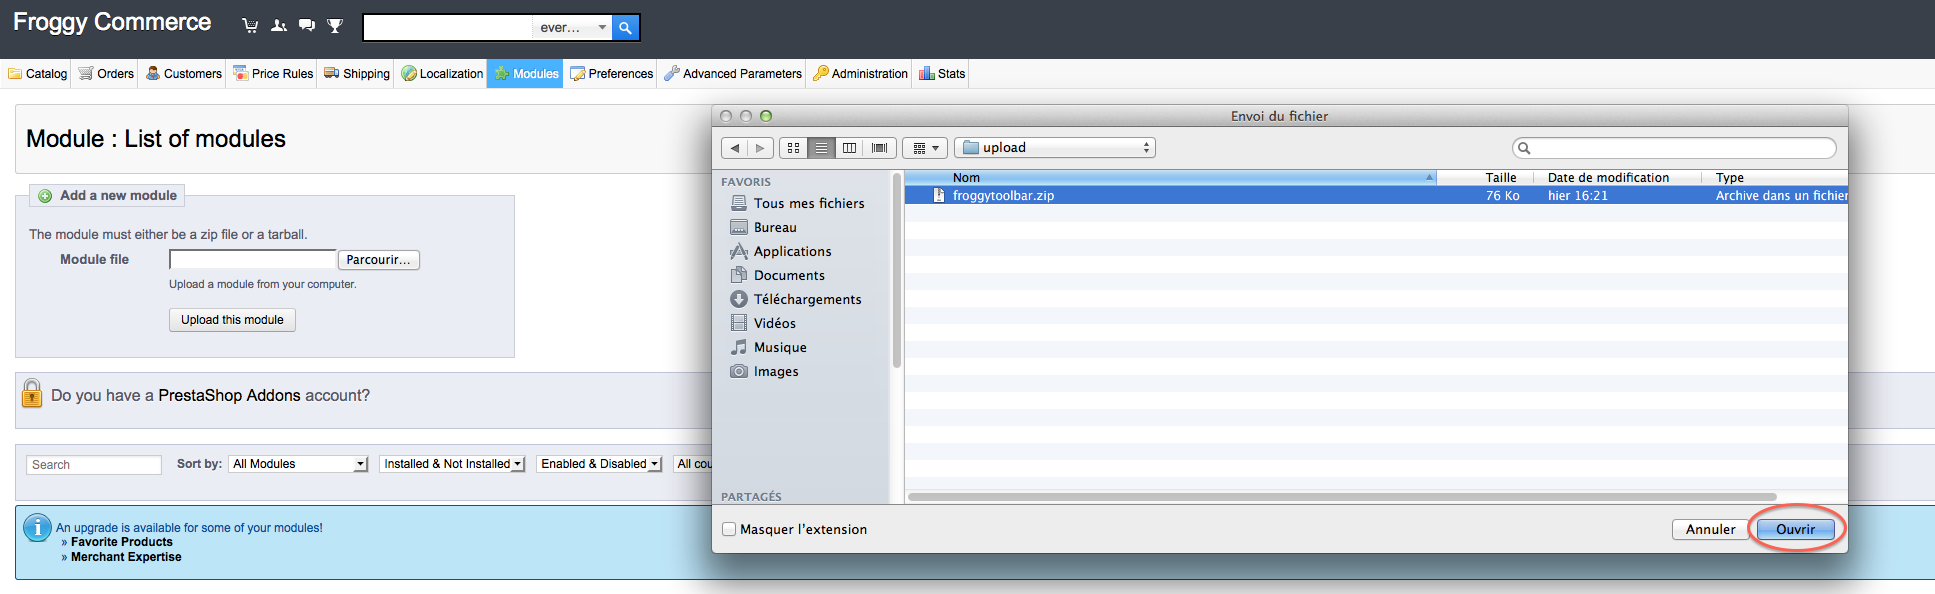
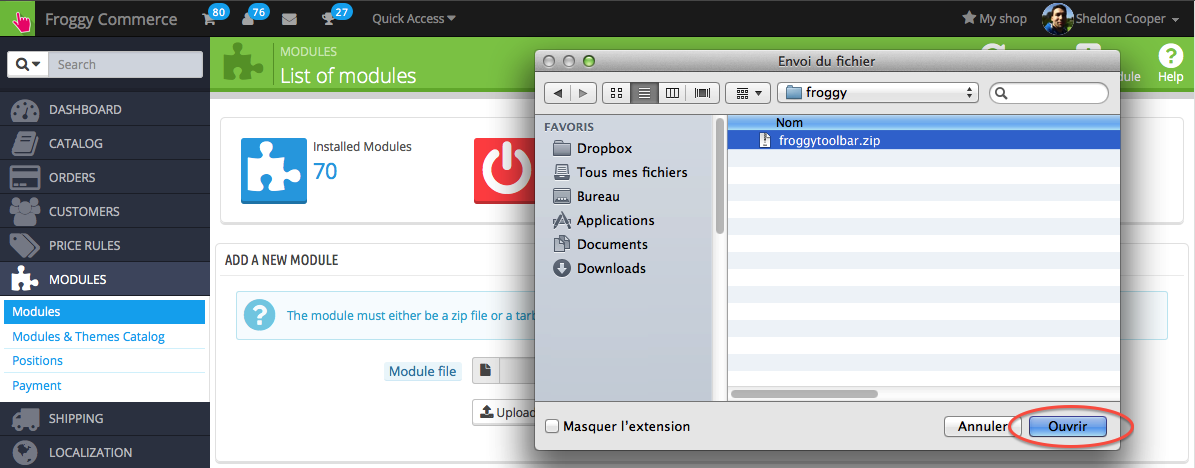
Then select the file “froggytoolbar.zip” and click on “open”.
And finally, click on the button “Upload this module”.
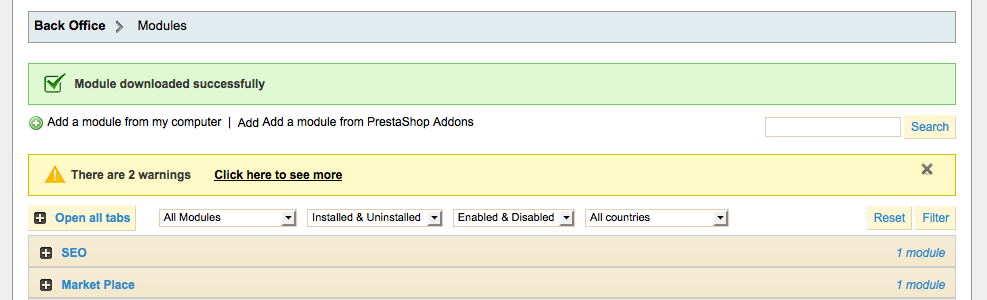
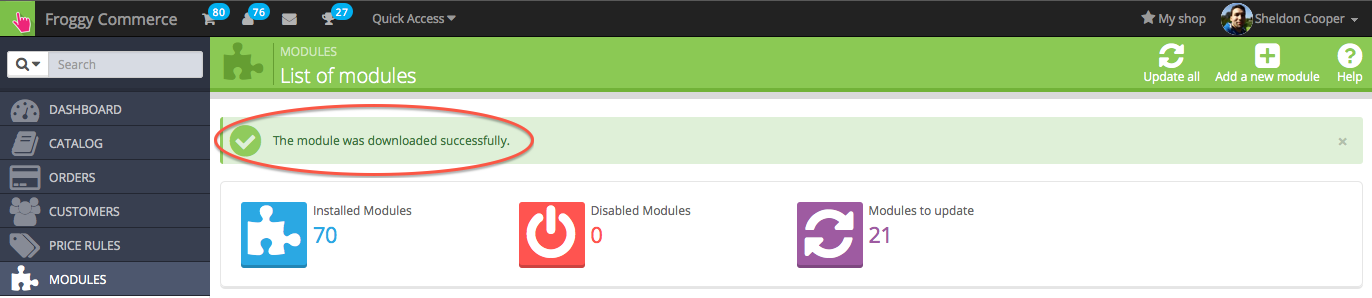
A confirmation message “Module downloaded successfully” should appear.
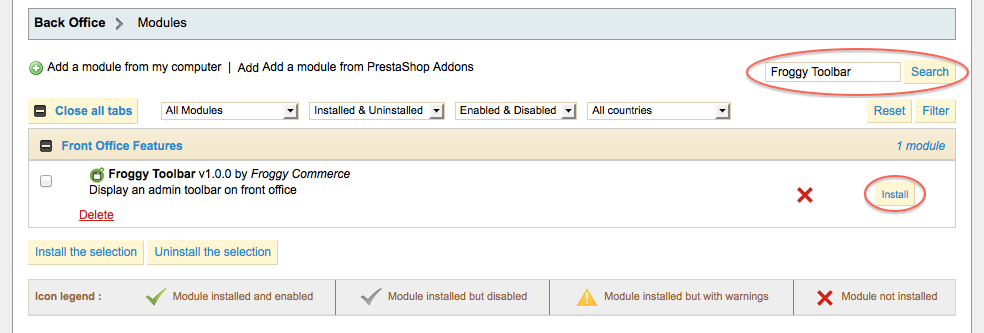
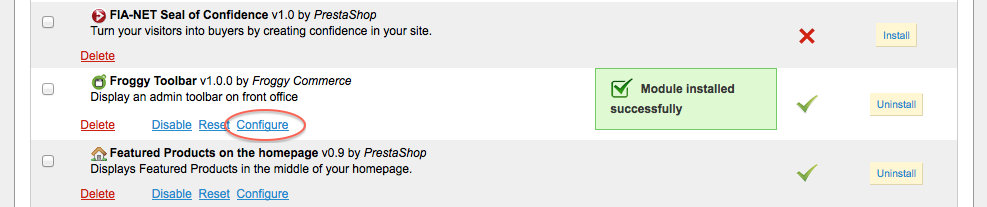
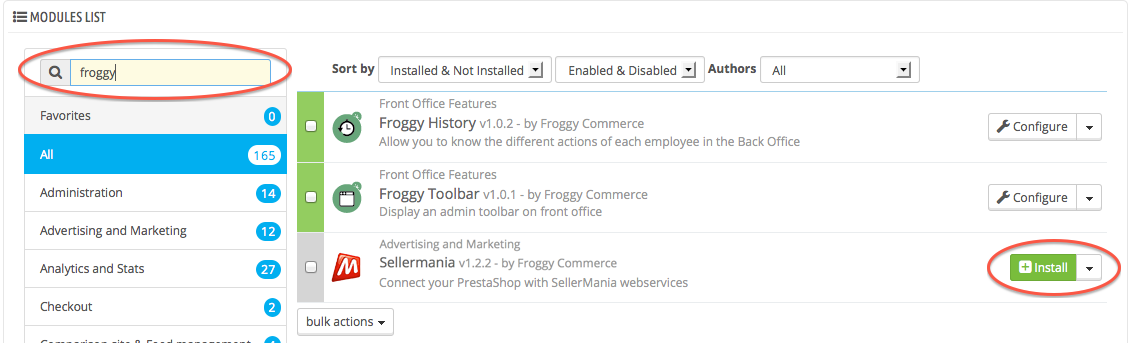
Click on the “Front Office Features” and search for the module “Froggy Toolbar” or use the search filter by typing “Froggy Toolbar” in it, then click on the “Install” button.
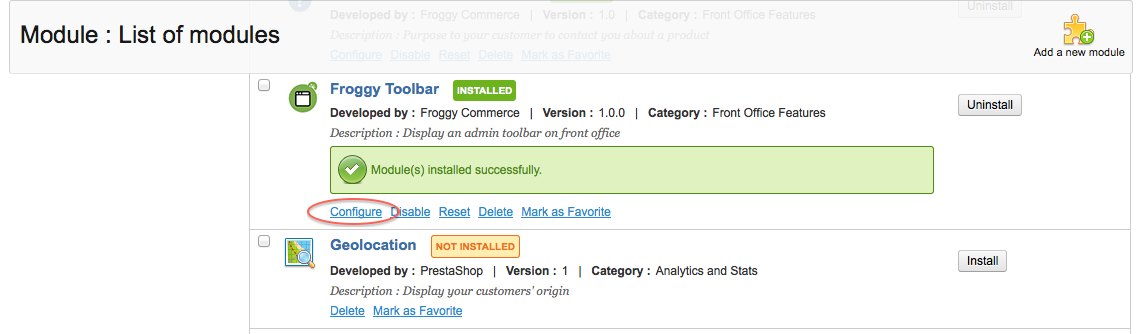
Once you will have clicked on the “Install” button, a confirmation message “Module Installed successfully” should appear. You can now click on the “configure” button.
1.1.2 Update on PrestaShop 1.4
To update your module, you just have to upload the zip file of the new version of the module.
So, first of all, download the last version of the module on our website froggy-commerce.com
Then, as for installation, connect to your PrestaShop Back Office.
Once connected, go to the “Modules” section.
You should have downloaded the updated file named “froggytoolbar.zip”. You will have to upload it in your module section. To do so, click on the “Add a new module” button.
A new tab should have appeared, click on the “browse” button.
Then select the file “froggytoolbar.zip” and click on “open”.
And finally, click on the button “Upload this module”.
A confirmation message “Module downloaded successfully” should appear.
Your module has been updated!
1.2.1 Installation on PrestaShop 1.5
First, connect to your PrestaShop Back Office.

Once connected, go to the “Modules” section.
We provided you a file named “froggytoolbar.zip”. You will have to upload it in your module section. To do so, click on the “Add a new module” button.

A new tab should have appeared, click on the “browse” button.
Then select the file “froggytoolbar.zip” and click on “open”.
And finally, click on the button “Upload this module”.
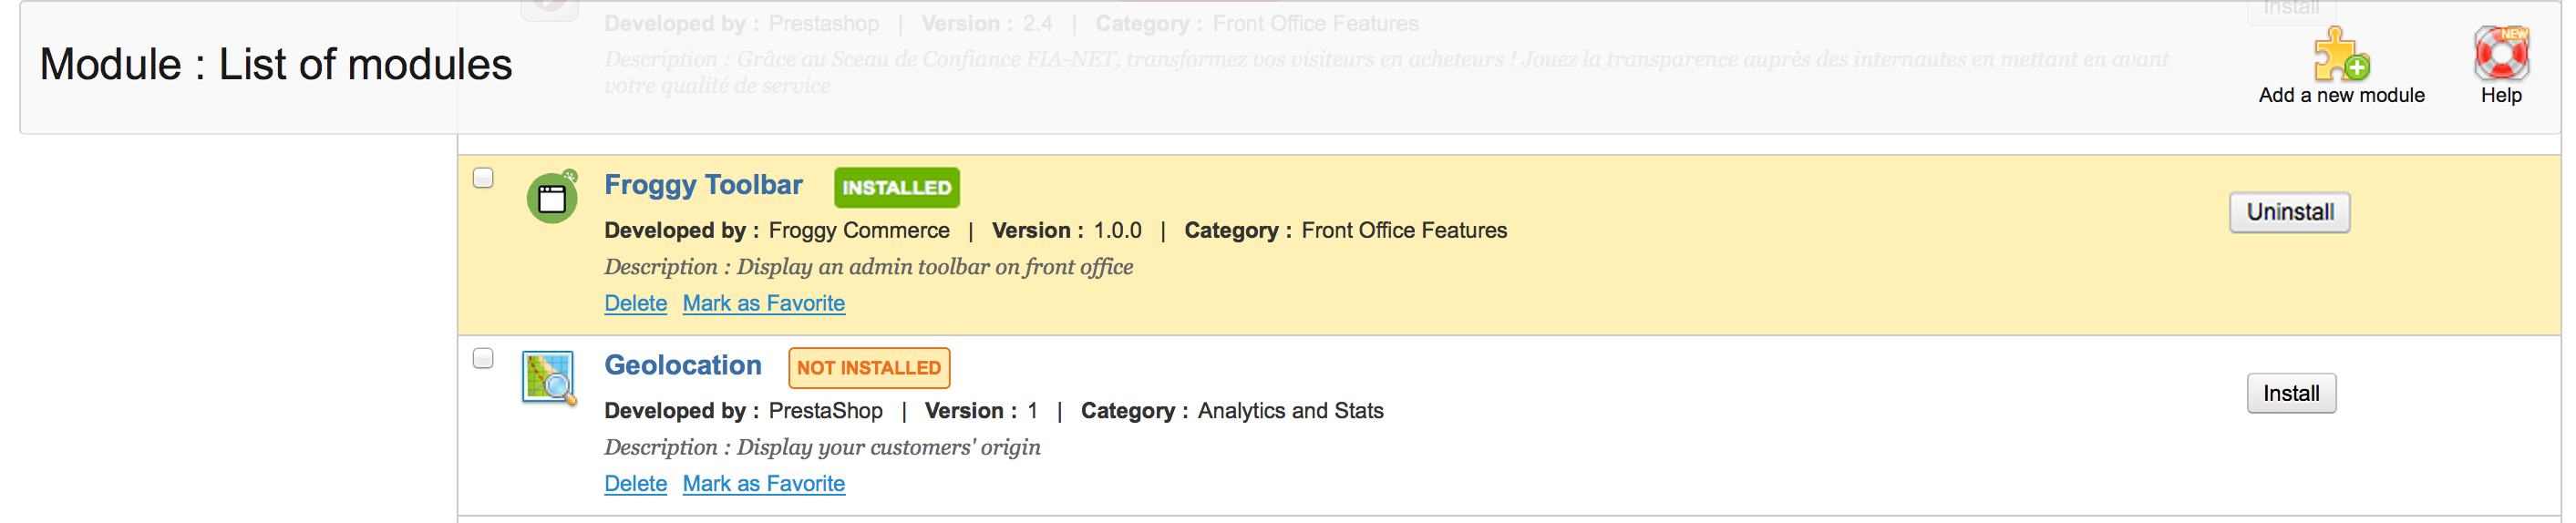
Your browser should scroll automatically to the new module added, and you should see it at the top of your screen. Now, you can click on the “Install” button.

Once you will have clicked on the “Install” button, a confirmation message “Module Installed successfully” should appear. You can now click on the “configure” button (on some versions of PrestaShop you will be directly redirected to the module configuration just after installation).
1.2.2 Update on PrestaShop 1.5
To update your module, you just have to upload the zip file of the new version of the module.
So, first of all, download the last version of the module on our website froggy-commerce.com
Then, as for installation, connect to your PrestaShop Back Office.
Once connected, go to the “Modules” section.
You should have downloaded the updated file named “froggytoolbar.zip”. You will have to upload it in your module section. To do so, click on the “Add a new module” button.
A new tab should have appeared, click on the “browse” button.
Then select the file “froggytoolbar.zip” and click on “open”.
And finally, click on the button “Upload this module”.
Your browser should scroll automatically to the new module added, and you should see it at the top of your screen. You DO NOT uninstall / reinstall your module.
Your module has been updated!
1.3.1 Installation on PrestaShop 1.6
First, connect to your PrestaShop Back Office.
Once connected, go to the “Modules” section.

We provided you a file named “froggytoolbar.zip”. You will have to upload it in your module section. To do so, click on the “Add a new module” button.

A new tab should have appeared, click on the “browse” button.
Then select the file “froggytoolbar.zip” and click on “open”.
And finally, click on the button “Upload this module”.

A confirmation message will appear.
At last, write "Froggy" in the search field, all Froggy modules will appear. Then click on the "install" button of the module you just uploaded. You will be automatically redirected to the module configuration page.
1.3.2 Update on PrestaShop 1.6
To update your module, you just have to upload the zip file of the new version of the module.
So, first of all, download the last version of the module on our website froggy-commerce.com
Then, as for installation, connect to your PrestaShop Back Office.
Once connected, go to the “Modules” section.
You should have downloaded the updated file named “froggytoolbar.zip”. You will have to upload it in your module section. To do so, click on the “Add a new module” button.
A new tab should have appeared, click on the “browse” button.
Then select the file “froggytoolbar.zip” and click on “open”.
And finally, click on the button “Upload this module”.
A confirmation message will appear.
Your module has been updated!
Once you clicked on the “configure” button, you should see this screen:
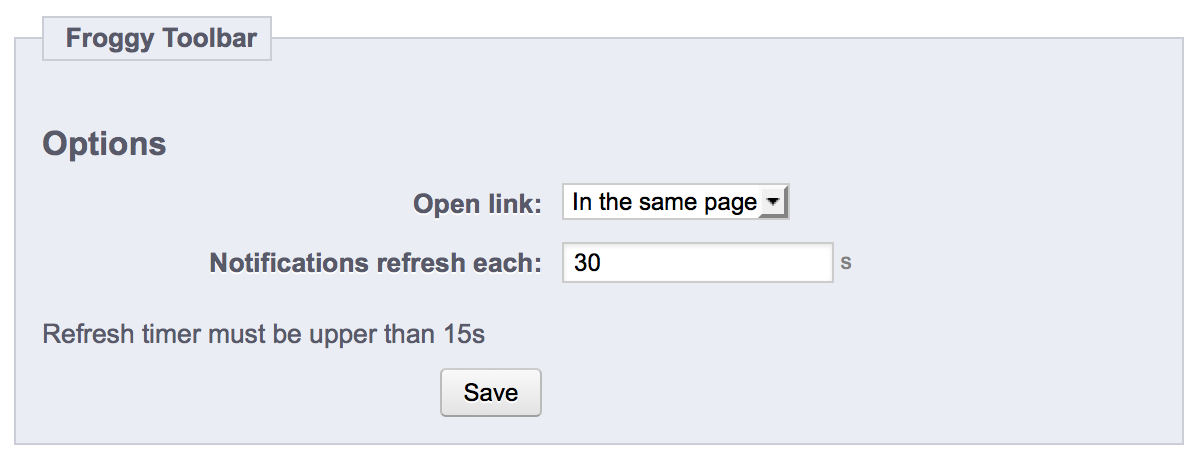
You can configure two different options.
1) “Open link” is an option with two different values “In the same page” and “In a new page”
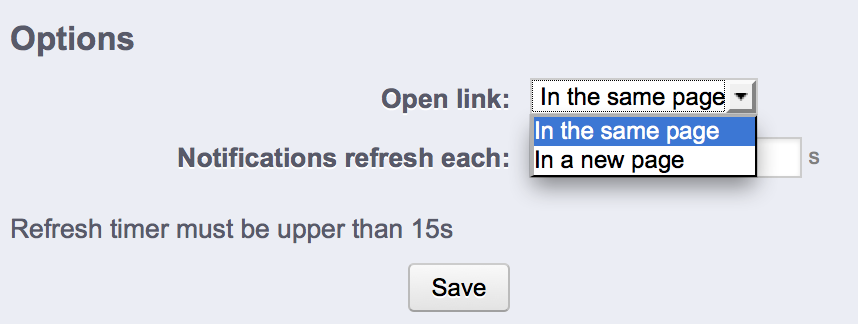
If you choose “In the same page”, all the links will be opened in the same page (as usual).
If you choose “In a new page”, all the links of the toolbar will be opened in a new tab of your browser.
2) “Notifications refresh” is an option to configure the numbers of seconds between each refresh of the notifications (when you don’t refresh the page).
On your front office, the toolbar should have appeared at the top of your website.
Do not worry, only the people authenticated in the Back Office can see it.
Once you will be logged out, the toolbar will disappear.

The first icon of the toolbar is the Froggy Menu, it contains three links: Froggy Commerce website, PrestaShop Addons website and PrestaShop forum.

The second menu on the left contains the shortcuts to the section you will use the most in your back office: “Orders”, “Products”, “Categories” and “Modules”.

The third menu on the left contains the shortcuts to add new product, new category and new CMS page.

As you can see, there are three icons on the right. These are the notifications that represent respectively the new orders, the new customers and the new customers messages.
If the icon is in dark grey, it means there is nothing new.
If the icon is in color, it means there is something new.
On the hover, you will see the detailed list.
The notifications will disappear once you will click on a “More info” link or a “See all” link.


The last menu contains the shortcuts to the Back Office dashboard, your employee profile section and the log out action.

When you will be on a category page, a product page or a CMS page, a “Edit” button will appear. This button is a shortcut to the modification form of the current page in your Back Office.

Beware, if you are using a cache module, the module might not work properly.