Froggy Product Videos is a module which allow to add videos on your product pages.
You will be able to configure one different video per language.
1.1.1 Installation on PrestaShop 1.4
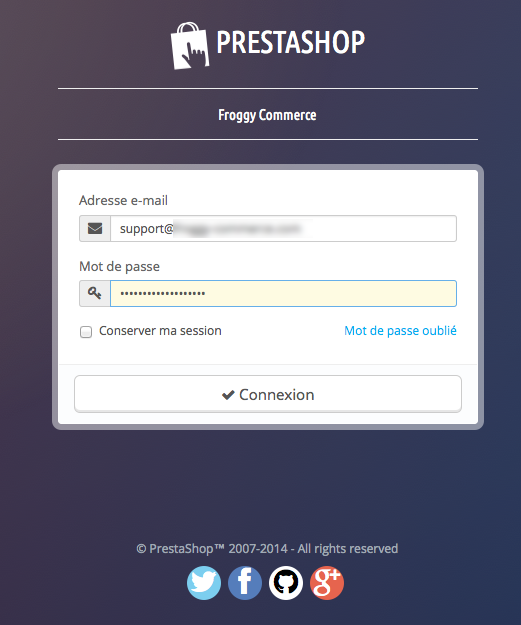
First, connect to your PrestaShop Back Office.
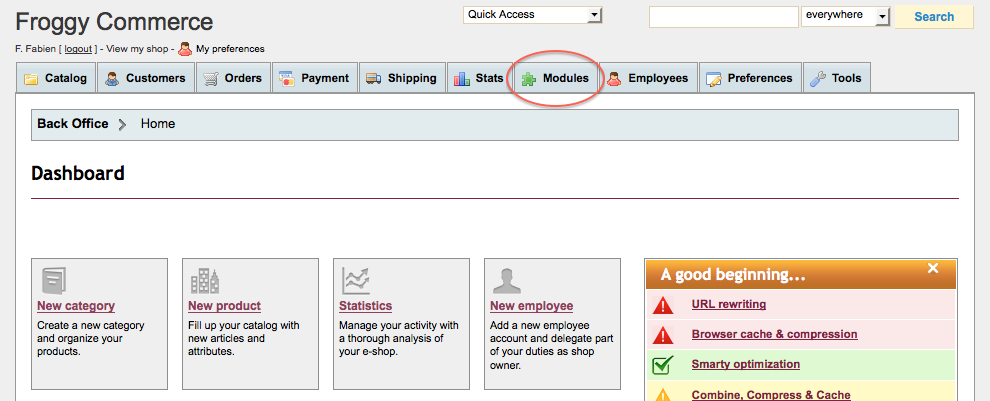
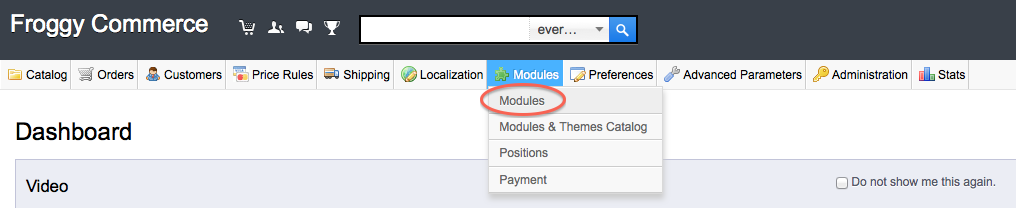
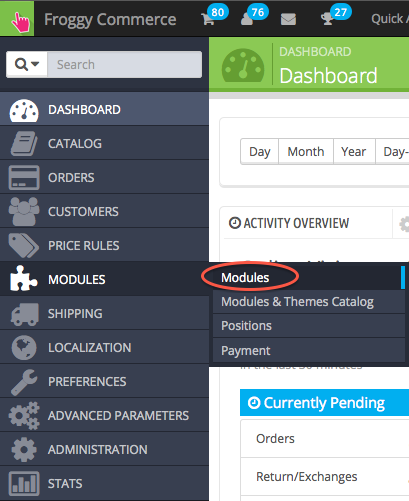
Once connected, go to the “Modules” section.
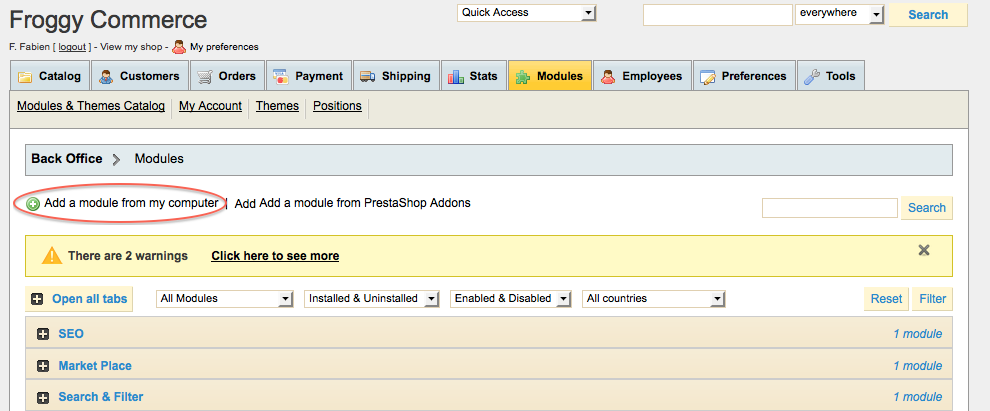
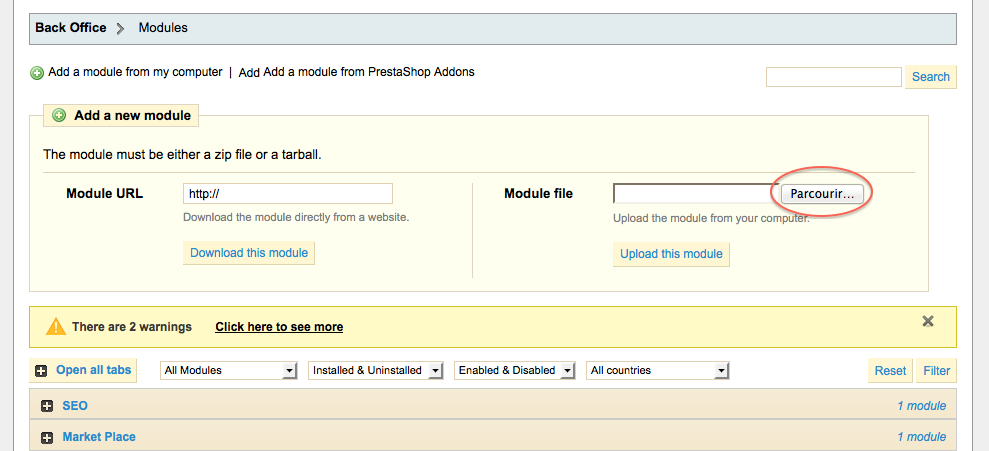
We provided you a file named “froggypromolayout.zip”. You will have to upload it in your module section. To do so, click on the “Add a new module” button.
A new tab should have appeared, click on the “browse” button.
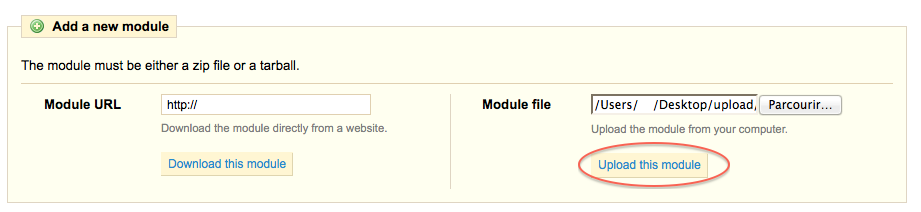
Then select the file “froggypromolayout.zip” and click on “open”.

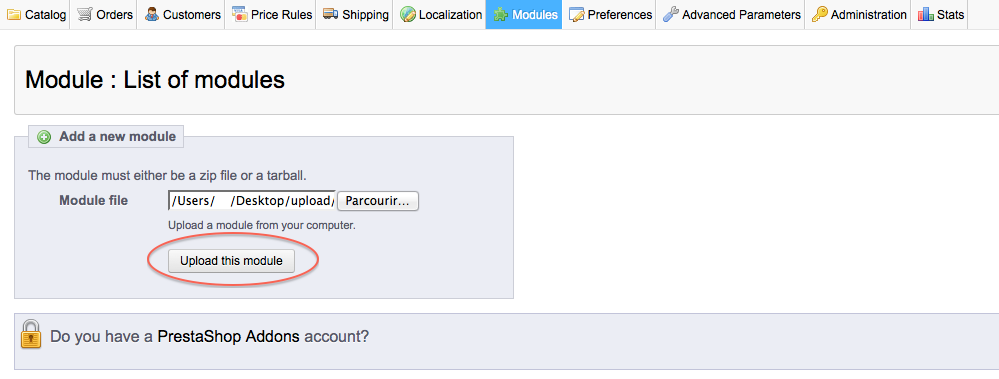
And finally, click on the button “Upload this module”.
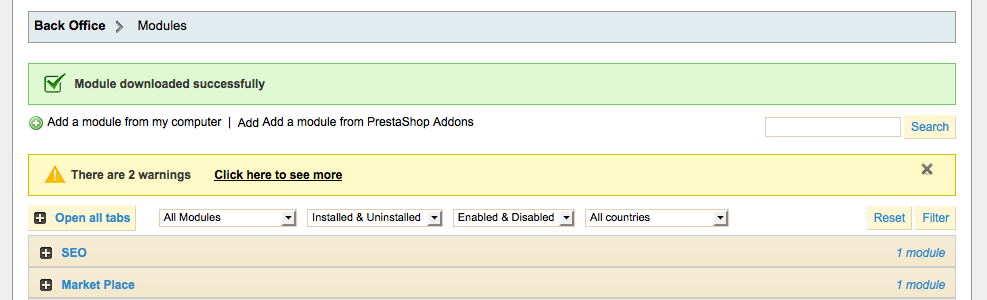
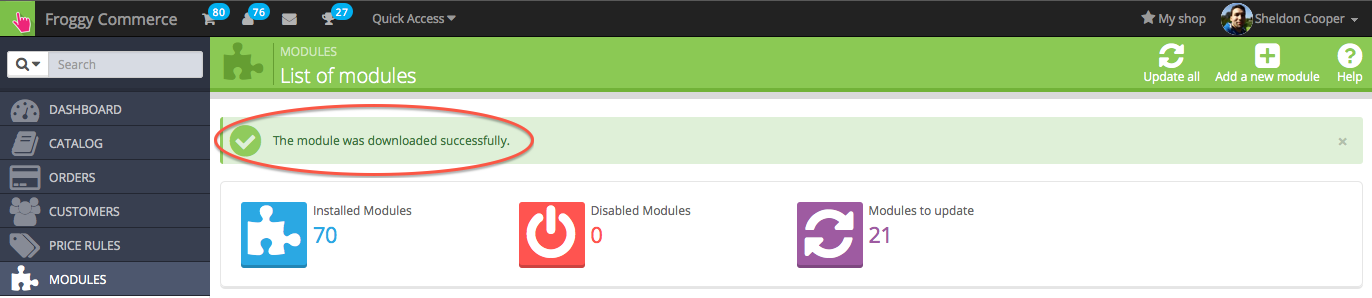
A confirmation message “Module downloaded successfully” should appear.
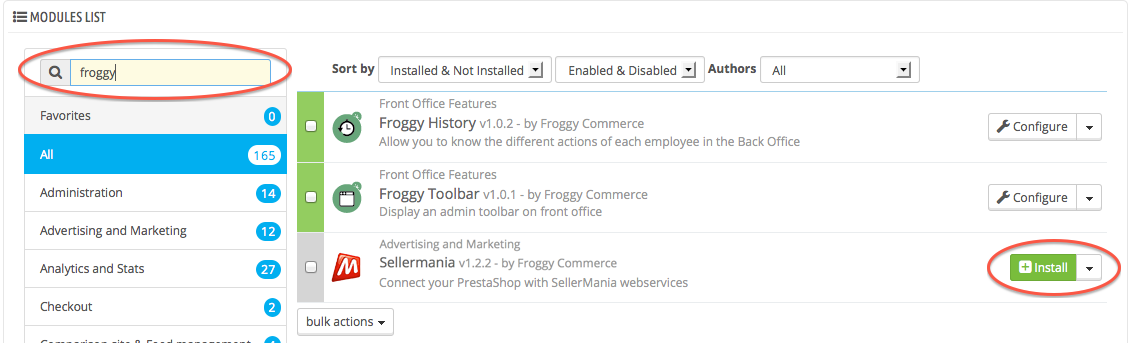
Click on the “Front Office Features” and search for the module “Froggy Promo Layout” or use the search filter by typing “Froggy Promo Layout” in it, then click on the “Install” button.

Once you will have clicked on the “Install” button, a confirmation message “Module Installed successfully” should appear. You can now click on the “configure” button.

1.1.2 Update on PrestaShop 1.4
To update your module, you just have to upload the zip file of the new version of the module.
So, first of all, download the last version of the module on our website froggy-commerce.com
Then, as for installation, connect to your PrestaShop Back Office.
Once connected, go to the “Modules” section.
You should have downloaded the updated file named “froggypromolayout.zip”. You will have to upload it in your module section. To do so, click on the “Add a new module” button.
A new tab should have appeared, click on the “browse” button.
Then select the file “froggypromolayout.zip” and click on “open”.
And finally, click on the button “Upload this module”.
A confirmation message “Module downloaded successfully” should appear.
Your module has been updated!
1.2.1 Installation on PrestaShop 1.5
First, connect to your PrestaShop Back Office.

Once connected, go to the “Modules” section.
We provided you a file named “froggypromolayout.zip”. You will have to upload it in your module section. To do so, click on the “Add a new module” button.

A new tab should have appeared, click on the “browse” button.
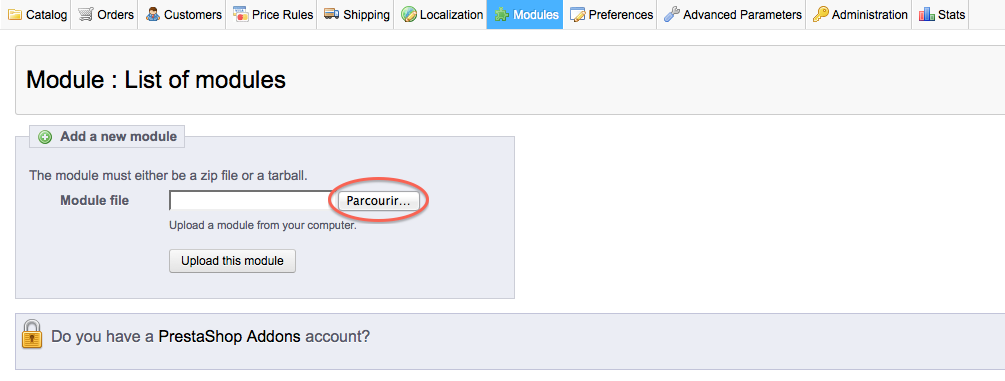
Then select the file “froggypromolayout.zip” and click on “open”.

And finally, click on the button “Upload this module”.
Your browser should scroll automatically to the new module added, and you should see it at the top of your screen. Now, you can click on the “Install” button.

Once you will have clicked on the “Install” button, a confirmation message “Module Installed successfully” should appear. You can now click on the “configure” button (on some versions of PrestaShop you will be directly redirected to the module configuration just after installation).

1.2.2 Update on PrestaShop 1.5
To update your module, you just have to upload the zip file of the new version of the module.
So, first of all, download the last version of the module on our website froggy-commerce.com
Then, as for installation, connect to your PrestaShop Back Office.
Once connected, go to the “Modules” section.
You should have downloaded the updated file named “froggypromolayout.zip”. You will have to upload it in your module section. To do so, click on the “Add a new module” button.
A new tab should have appeared, click on the “browse” button.
Then select the file “froggypromolayout.zip” and click on “open”.
And finally, click on the button “Upload this module”.
Your browser should scroll automatically to the new module added, and you should see it at the top of your screen. You DO NOT uninstall / reinstall your module.

Your module has been updated!
1.3.1 Installation on PrestaShop 1.6
First, connect to your PrestaShop Back Office.
Once connected, go to the “Modules” section.

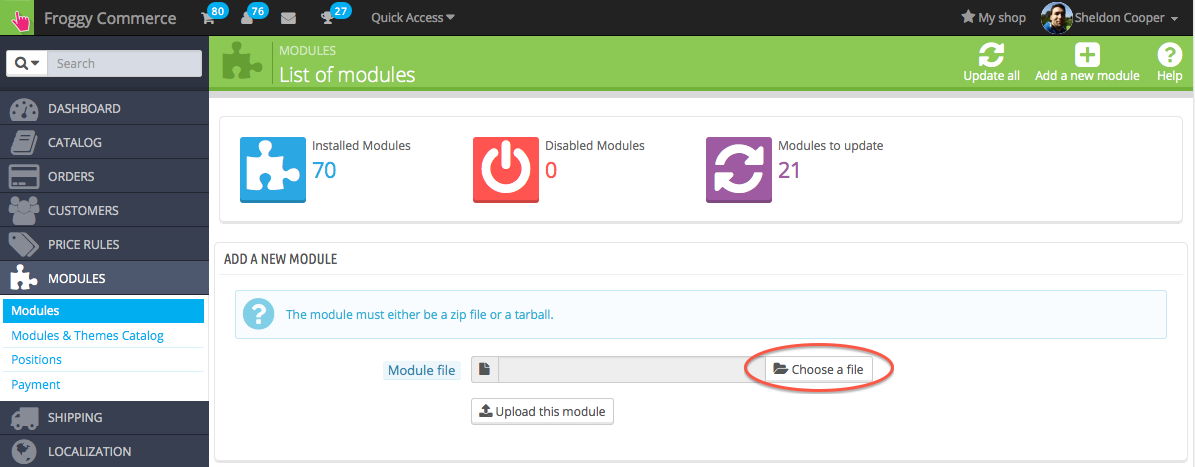
We provided you a file named “froggypromolayout.zip”. You will have to upload it in your module section. To do so, click on the “Add a new module” button.

A new tab should have appeared, click on the “browse” button.
Then select the file “froggypromolayout.zip” and click on “open”.

And finally, click on the button “Upload this module”.

A confirmation message will appear.
At last, write "Froggy" in the search field, all Froggy modules will appear. Then click on the "install" button of the module you just uploaded. You will be automatically redirected to the module configuration page.
1.3.2 Update on PrestaShop 1.6
To update your module, you just have to upload the zip file of the new version of the module.
So, first of all, download the last version of the module on our website froggy-commerce.com
Then, as for installation, connect to your PrestaShop Back Office.
Once connected, go to the “Modules” section.
You should have downloaded the updated file named “froggypromolayout.zip”. You will have to upload it in your module section. To do so, click on the “Add a new module” button.
A new tab should have appeared, click on the “browse” button.
Then select the file “froggypromolayout.zip” and click on “open”.
And finally, click on the button “Upload this module”.
A confirmation message will appear.
Your module has been updated!
Une fois installer, vous pouvez configurer le template que vous voulez afficher sur votre page d'accueil. La taille des images doit être respecter, sinon la disposition du template sera incorrect.

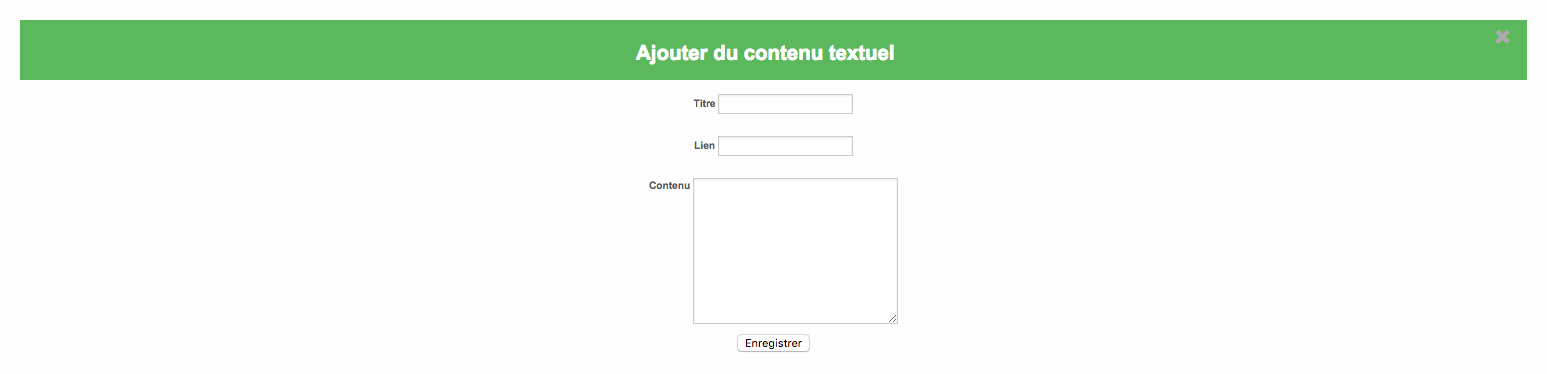
Etape 1: Choisir un titre qui sera afficher sur la page d'accueil.
Etape 2: Choisir un template.
Etape 3: Etape 3: Glisser/déposer vos images ou cliquez dans chaques zones pour importer les importer.
Etape 4: Cette étape vous permet d'écrire un titre afficher sur vos images, ajouter un lien sur chaqu'une et un attribut alt (pour le référencement).