1.1.1 Installation on PrestaShop 1.4
First, connect to your PrestaShop Back Office.
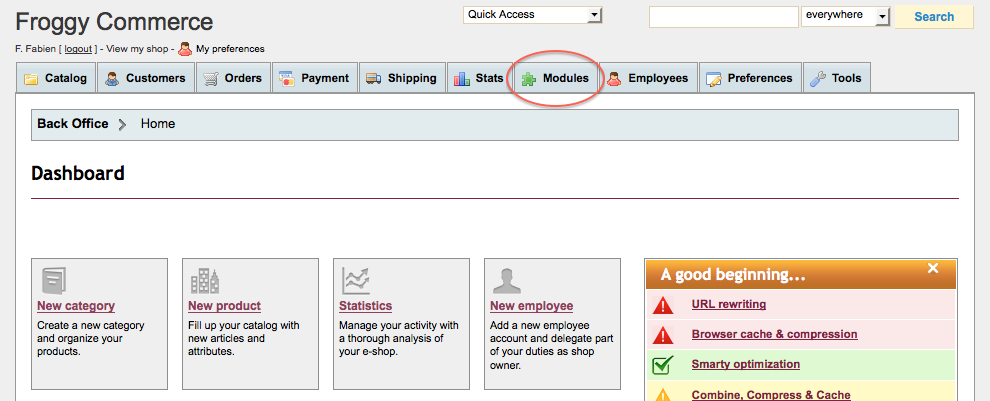
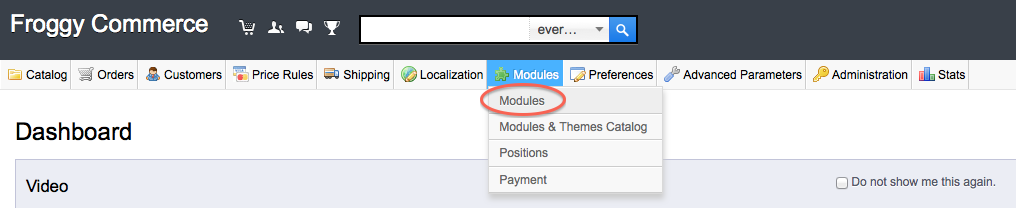
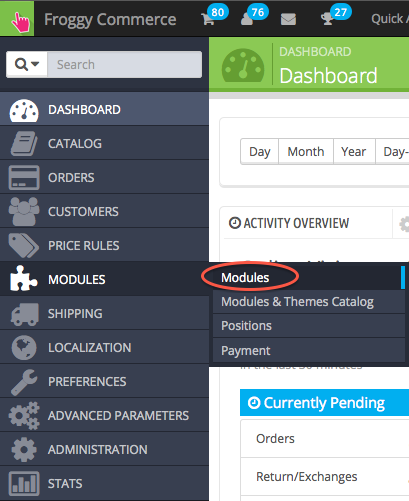
Once connected, go to the “Modules” section.
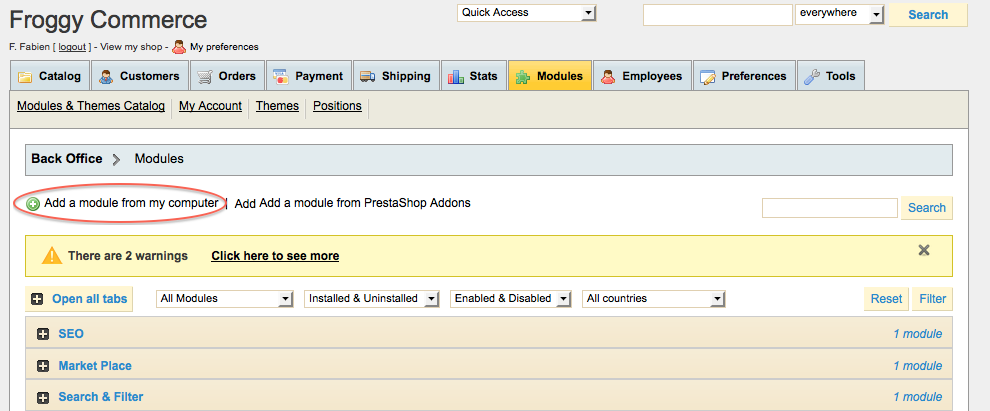
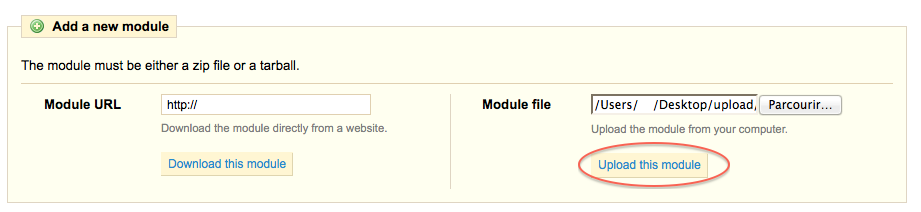
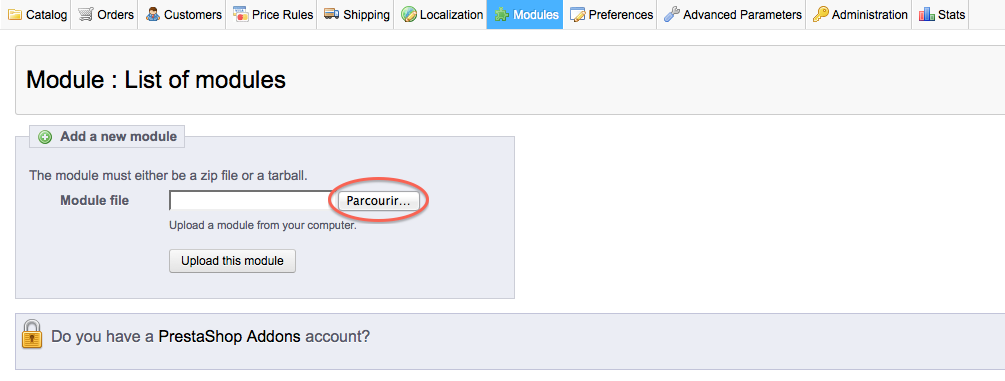
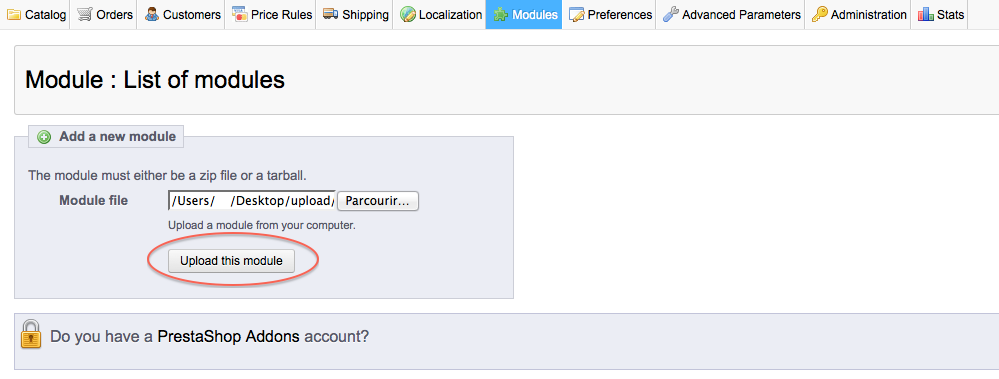
We provided you a file named “froggycartorder.zip”. You will have to upload it in your module section. To do so, click on the “Add a new module” button.
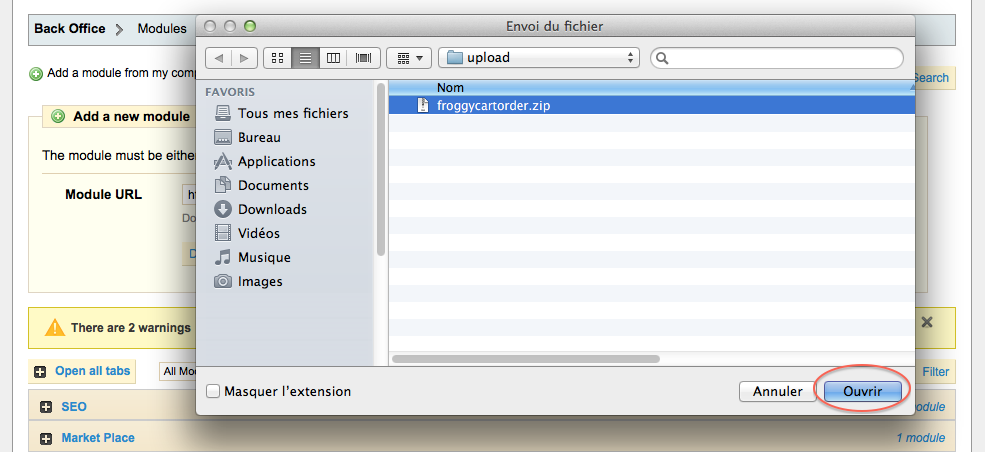
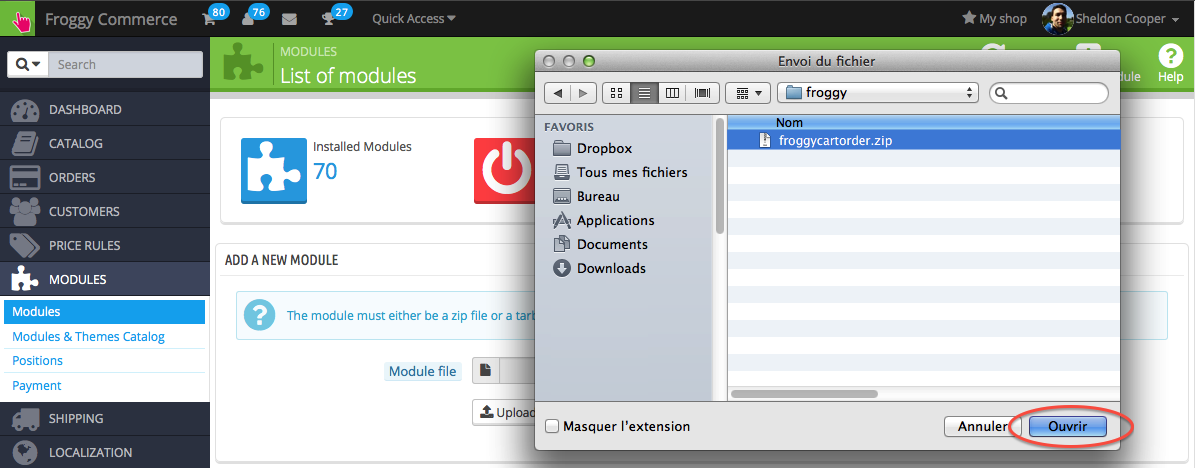
A new tab should have appeared, click on the “browse” button.
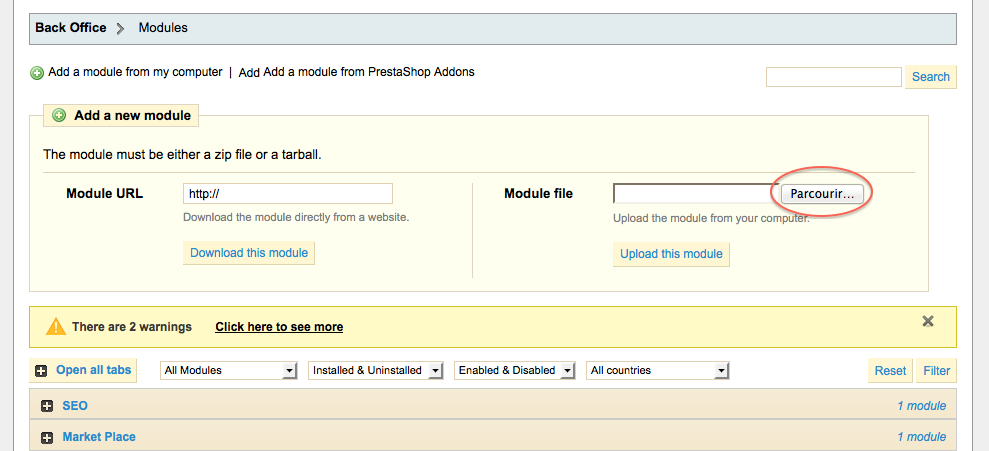
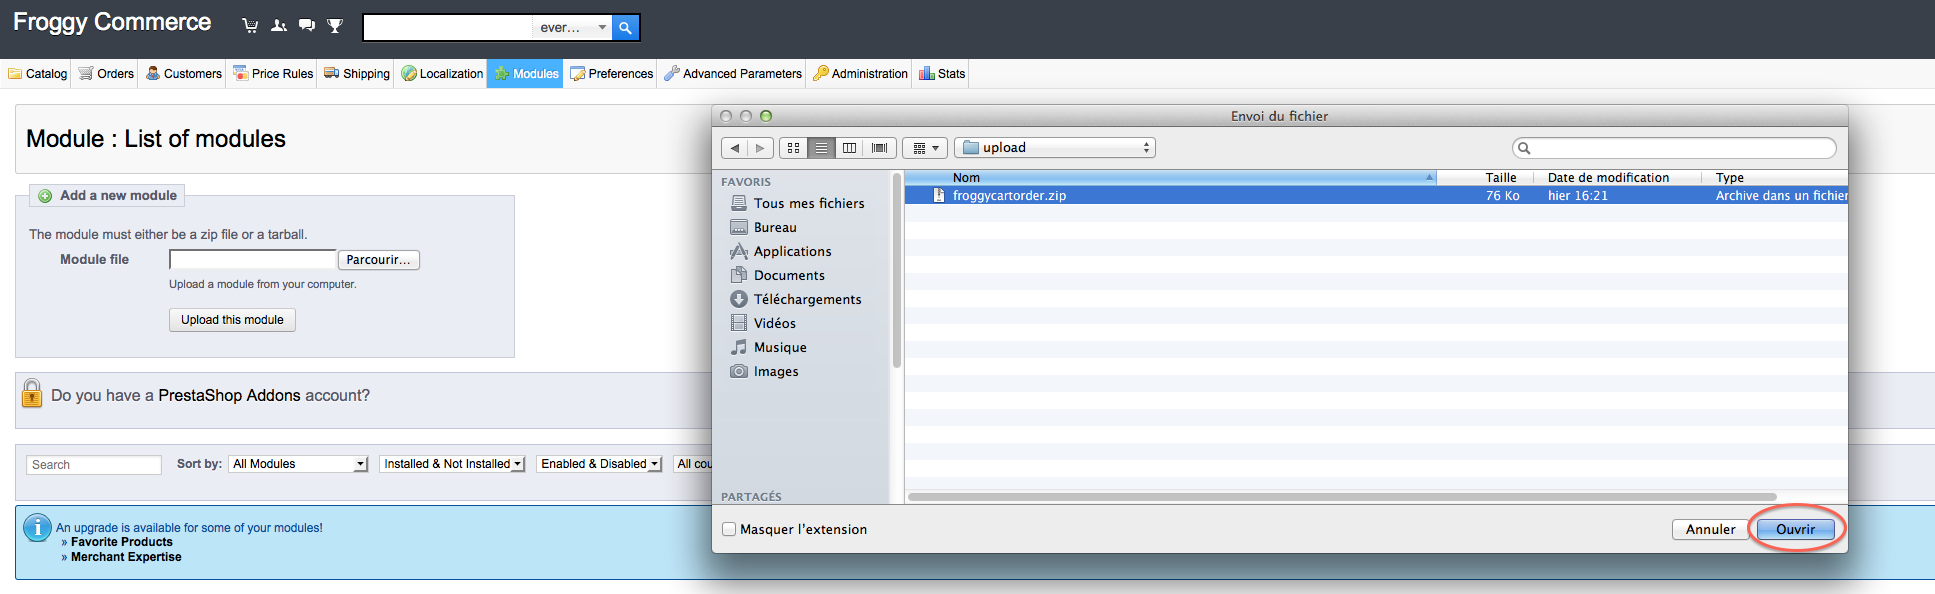
Then select the file “froggycartorder.zip” and click on “open”.
And finally, click on the button “Upload this module”.
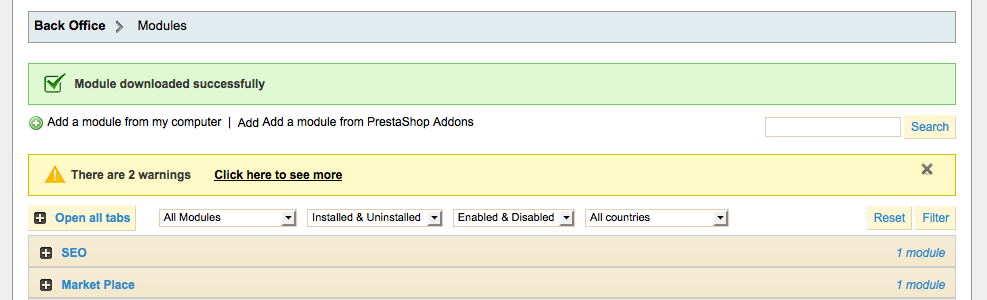
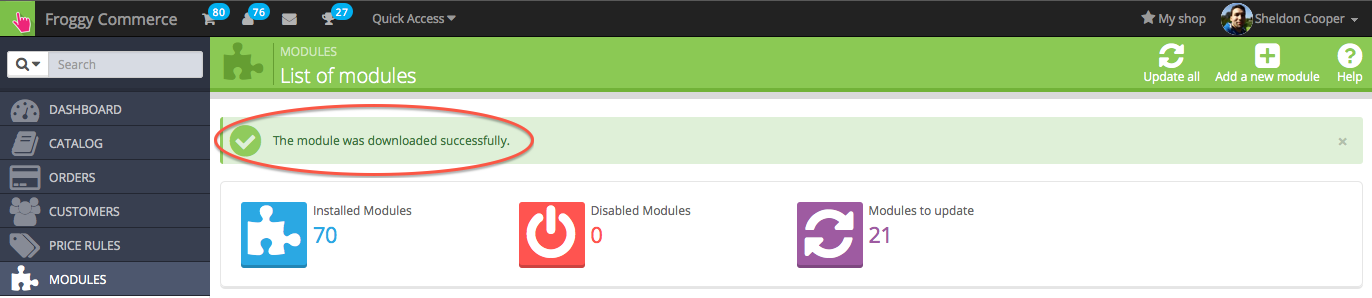
A confirmation message “Module downloaded successfully” should appear.
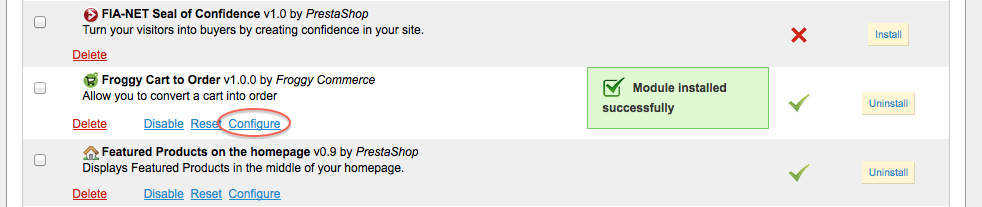
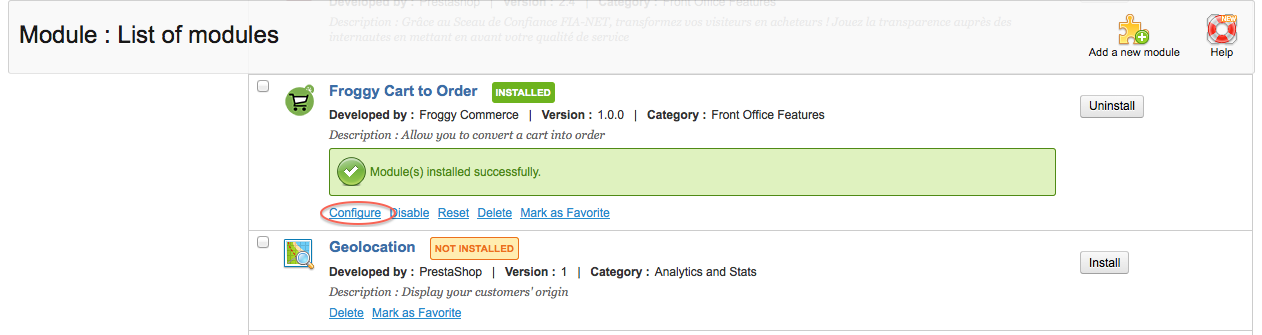
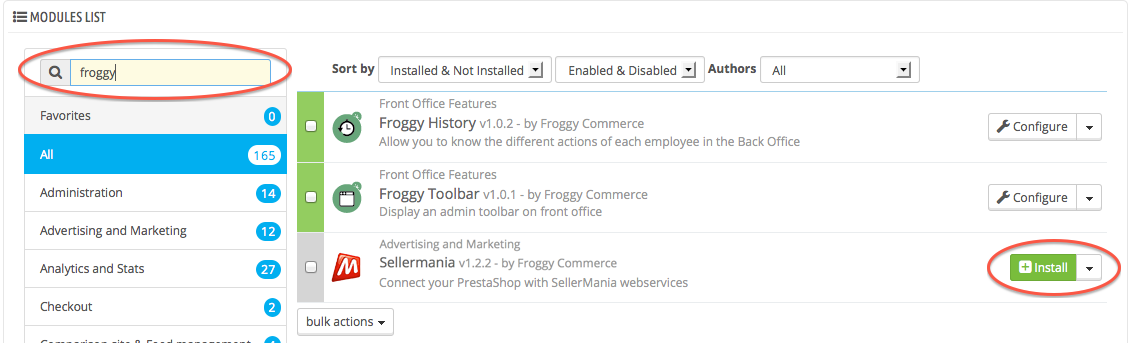
Click on the “Front Office Features” and search for the module “Froggy Cart To Order” or use the search filter by typing “Froggy Cart To Order” in it, then click on the “Install” button.
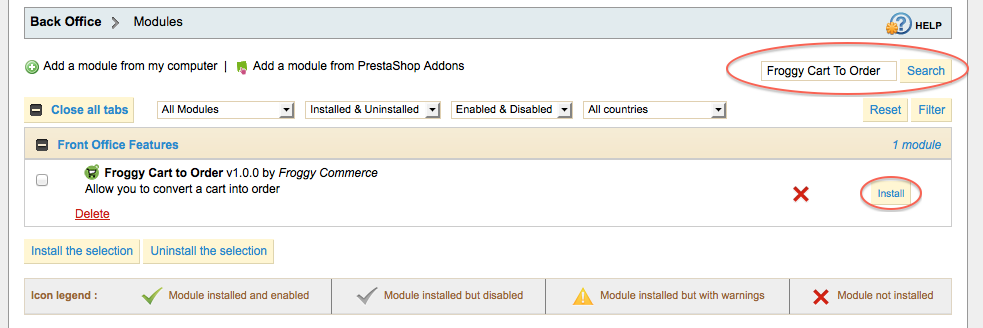
Once you will have clicked on the “Install” button, a confirmation message “Module Installed successfully” should appear. You can now click on the “configure” button.
1.1.2 Update on PrestaShop 1.4
To update your module, you just have to upload the zip file of the new version of the module.
So, first of all, download the last version of the module on our website froggy-commerce.com
Then, as for installation, connect to your PrestaShop Back Office.
Once connected, go to the “Modules” section.
You should have downloaded the updated file named “froggycartorder.zip”. You will have to upload it in your module section. To do so, click on the “Add a new module” button.
A new tab should have appeared, click on the “browse” button.
Then select the file “froggycartorder.zip” and click on “open”.
And finally, click on the button “Upload this module”.
A confirmation message “Module downloaded successfully” should appear.
Your module has been updated!
1.2.1 Installation on PrestaShop 1.5
First, connect to your PrestaShop Back Office.

Once connected, go to the “Modules” section.
We provided you a file named “froggycartorder.zip”. You will have to upload it in your module section. To do so, click on the “Add a new module” button.

A new tab should have appeared, click on the “browse” button.
Then select the file “froggycartorder.zip” and click on “open”.
And finally, click on the button “Upload this module”.
Your browser should scroll automatically to the new module added, and you should see it at the top of your screen. Now, you can click on the “Install” button.

Once you will have clicked on the “Install” button, a confirmation message “Module Installed successfully” should appear. You can now click on the “configure” button (on some versions of PrestaShop you will be directly redirected to the module configuration just after installation).
1.2.2 Update on PrestaShop 1.5
To update your module, you just have to upload the zip file of the new version of the module.
So, first of all, download the last version of the module on our website froggy-commerce.com
Then, as for installation, connect to your PrestaShop Back Office.
Once connected, go to the “Modules” section.
You should have downloaded the updated file named “froggycartorder.zip”. You will have to upload it in your module section. To do so, click on the “Add a new module” button.
A new tab should have appeared, click on the “browse” button.
Then select the file “froggycartorder.zip” and click on “open”.
And finally, click on the button “Upload this module”.
Your browser should scroll automatically to the new module added, and you should see it at the top of your screen. You DO NOT uninstall / reinstall your module.

Your module has been updated!
1.3.1 Installation on PrestaShop 1.6
First, connect to your PrestaShop Back Office.
Once connected, go to the “Modules” section.

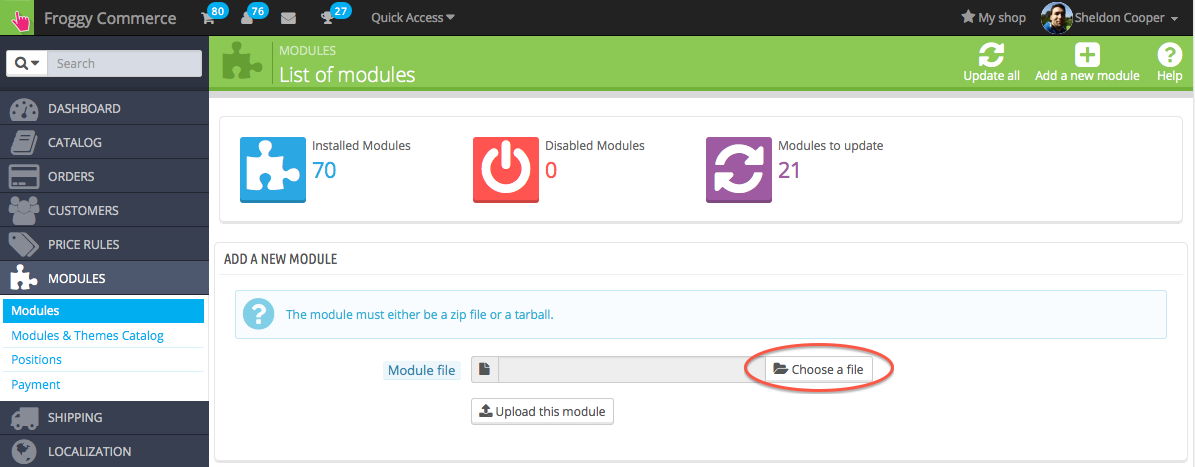
We provided you a file named “froggycartorder.zip”. You will have to upload it in your module section. To do so, click on the “Add a new module” button.

A new tab should have appeared, click on the “browse” button.
Then select the file “froggycartorder.zip” and click on “open”.
And finally, click on the button “Upload this module”.

A confirmation message will appear.
At last, write "Froggy" in the search field, all Froggy modules will appear. Then click on the "install" button of the module you just uploaded. You will be automatically redirected to the module configuration page.
1.3.2 Update on PrestaShop 1.6
To update your module, you just have to upload the zip file of the new version of the module.
So, first of all, download the last version of the module on our website froggy-commerce.com
Then, as for installation, connect to your PrestaShop Back Office.
Once connected, go to the “Modules” section.
You should have downloaded the updated file named “froggycartorder.zip”. You will have to upload it in your module section. To do so, click on the “Add a new module” button.
A new tab should have appeared, click on the “browse” button.
Then select the file “froggycartorder.zip” and click on “open”.
And finally, click on the button “Upload this module”.
A confirmation message will appear.
Your module has been updated!
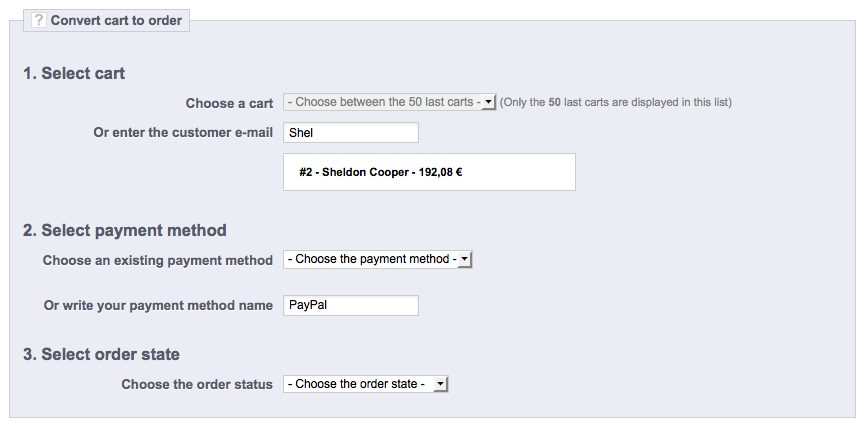
Here is what you should see in your module configuration page.
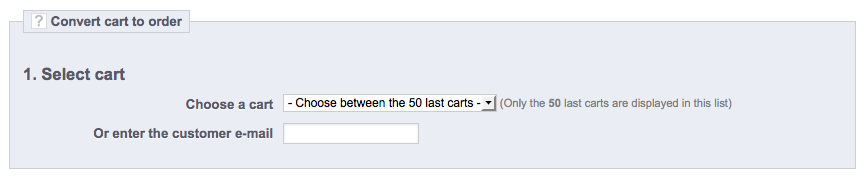
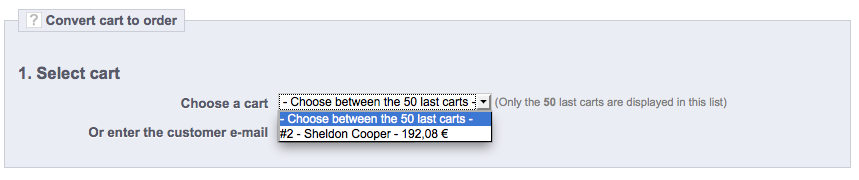
To convert a cart into an order, you can either choose a cart among the last 50 carts created (which are associated to a customer and not associated to an order).
Or, if you know the customer e-mail, begin to fill up the customer e-mail (here sheldon@cooper.com), the carts that are associated to the customer (and not associated to an order) will be displayed.
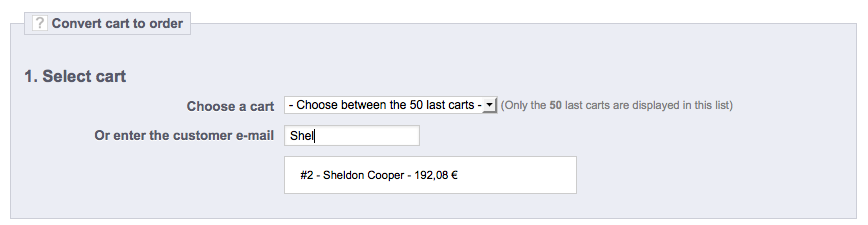
Once you will have clicked on the cart (or used the select), step 2 will appear.

You now have to choose the payment method.
You can either choose among the existing payment methods (the list is filled with all the payment method that have been already used).
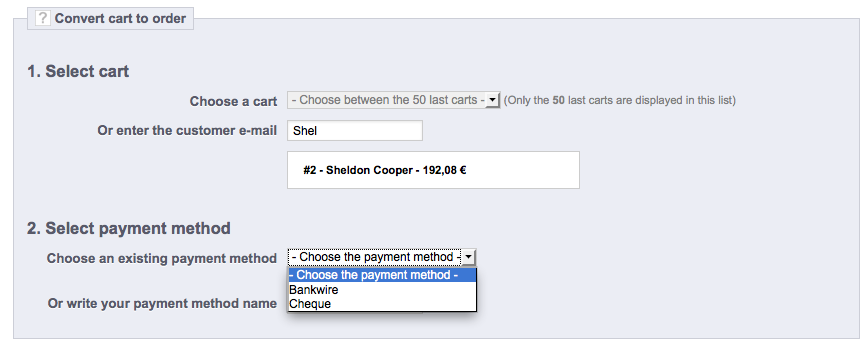
Or write a new payment method name. Once you will have selected your existing payment method (or write your payment method name), step 3 will appear.
Beware, the payment method name is only used for display, no payment will be automatically made, you’ll have to handle this part directly with the customer.
Select the order status that will be assigned to the new order, then the step 4 will appear.
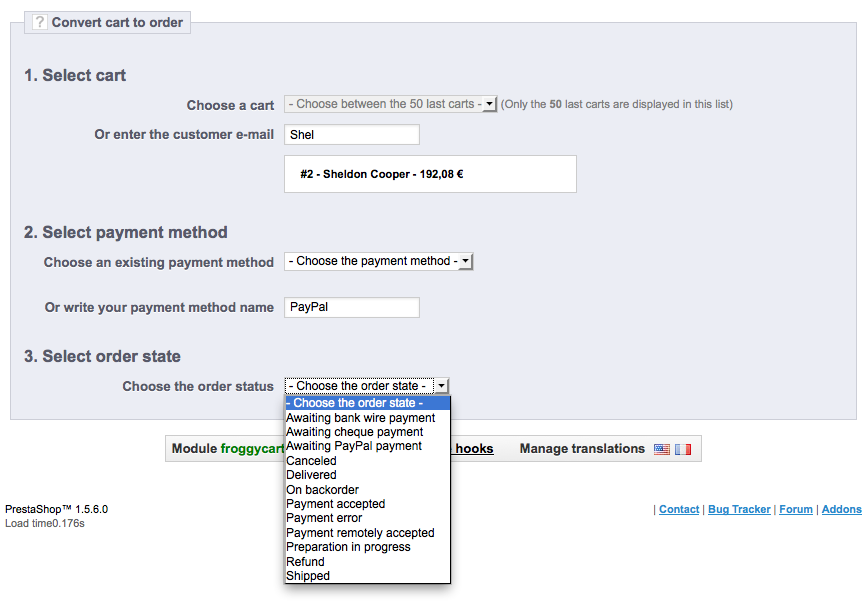
At last, click on the “convert” button.

If all went well, a confirmation message should appear.
